Use of custom graphics and icons
When designing a form, list or menu in some places, you can use your own graphics and icons in archITekt Studio.
By default, there is a set of icons that you can use.
You can add your own graphics:
- to the Picture control, and also in the Button icon property to the Button control on the form,
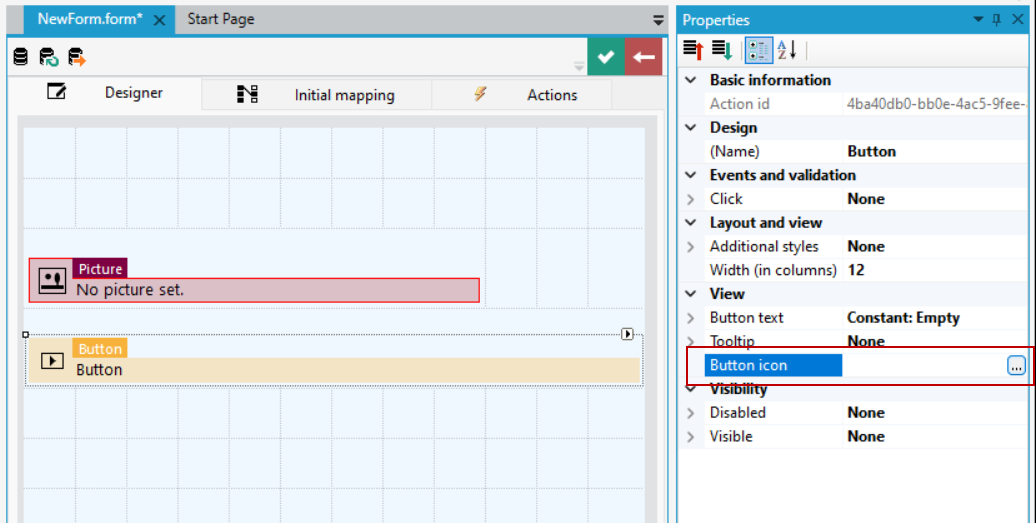
- as a background for containers and forms—for more information, see: Setting container backgrounds.
- on the Actions tab as a button icon on the form and list,
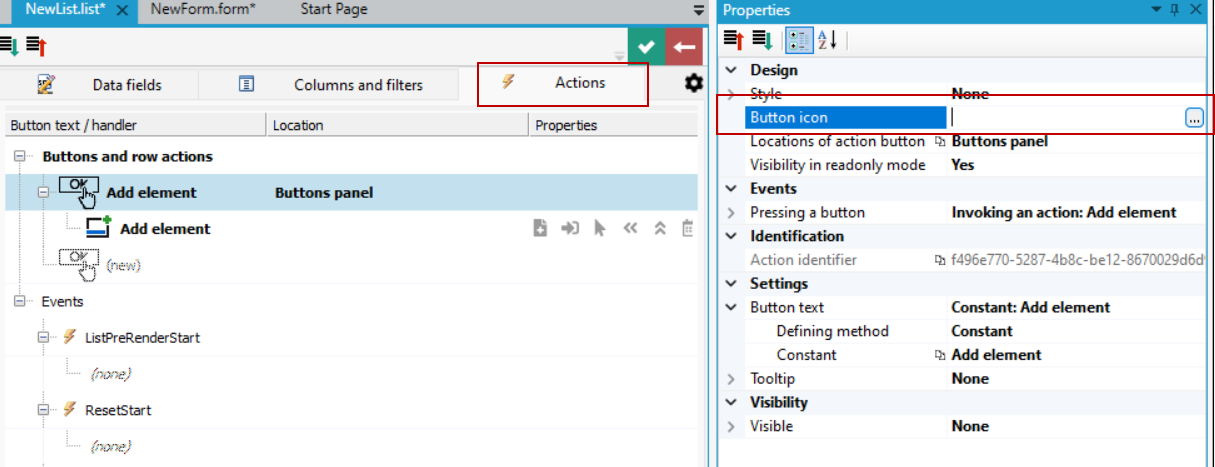
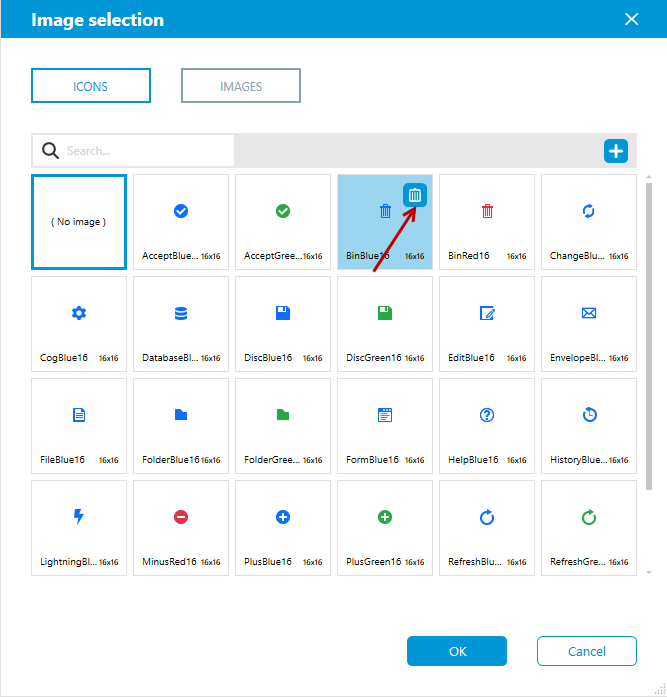
- After selecting the option to add an icon to a control/button, a window will be displayed where you can add your own icons and images.
- Select the + button and then indicate the location from which the selected icons/images are to be loaded.
- Select the icon/image and click OK.
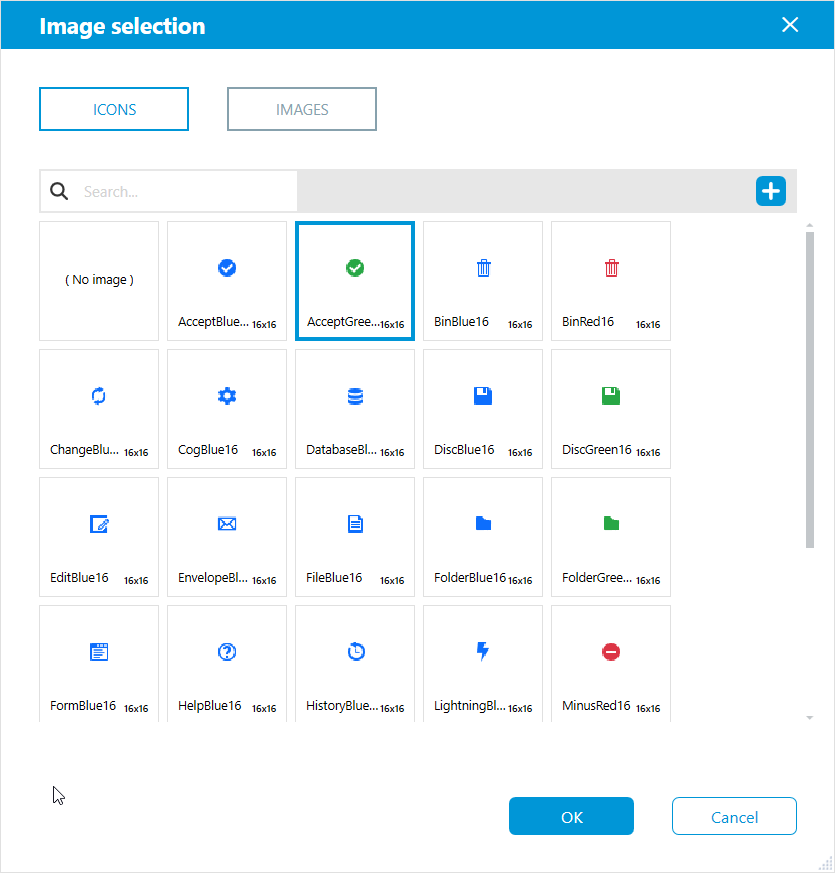
- To change/delete the icon, go to the Properties panel again to the icon selection window.
- When you hover over a given icon, you can delete it. You can also select the No image option.
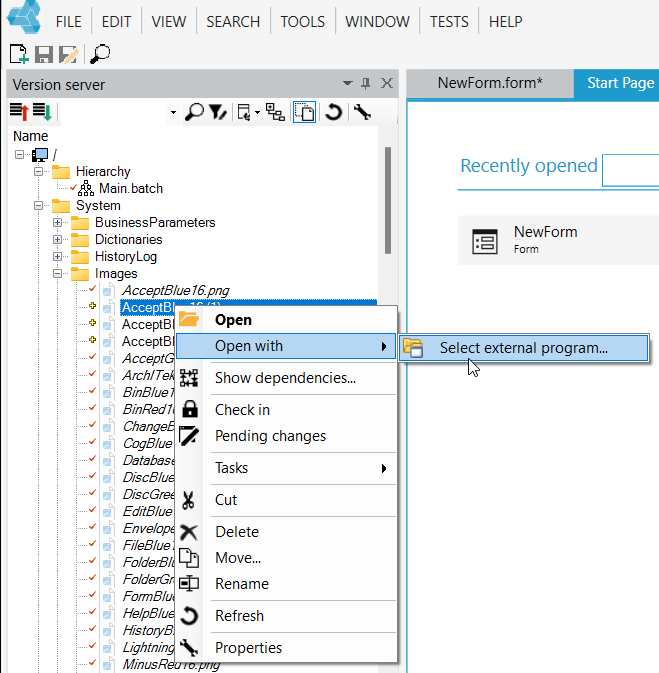
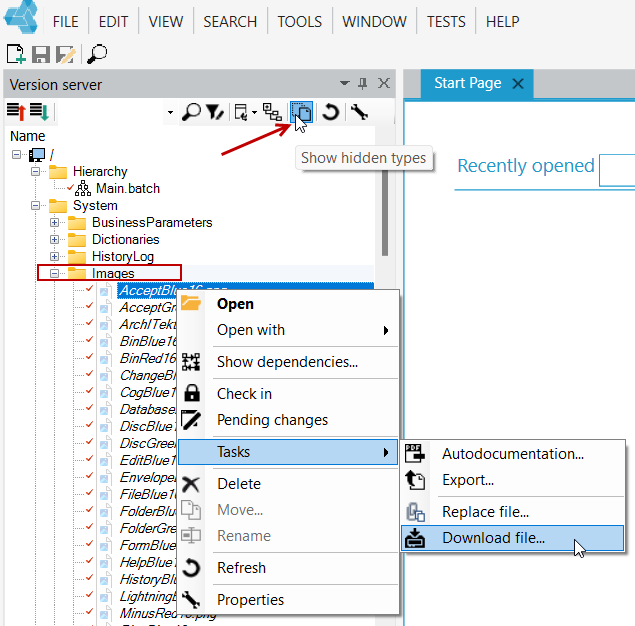
- All graphics and added images are located in the version server in the Images directory. To view the contents of the directory, select the Show hidden types button from the top menu.
- You can download both icons and images.
- Select the image and choose from context menu: Tasks>Download file.
The Replace file option is only available with a file version server.
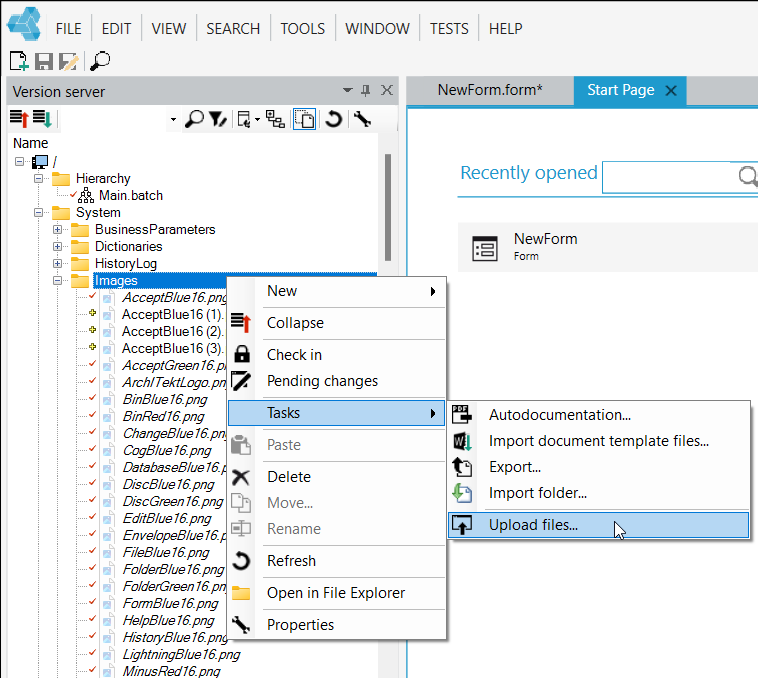
- To add graphics you can use the Image selection editor or add them to a directory in the version server, where they will be visible in the image selection editor.
- Select the directory and choose the option Tasks>Upload file.
- In addition, with a file version server, you can open the graphics in an external image editor via the Open with>Select external program... option.