Quick Start
In this section you will find all the information you need to get started with archITekt Studio.
The individual steps contain the minimum information necessary to launch the platform ready to work. You can find expanded information from this section in VSoft archITekt Launcher.
Steps to perform:
- Download the archITekt Studio installer. Where to download from.
- Installing the platform
- Entering the license
- Creating a new project
- Launching the environment
Downloading the archITekt Studio installer. Where to download from?
To download the installation package of the archITekt Studio platform you need to go to https://vsoft-architekt.com/ and choose the option Free Trial.

Then fill out and send us the application form.
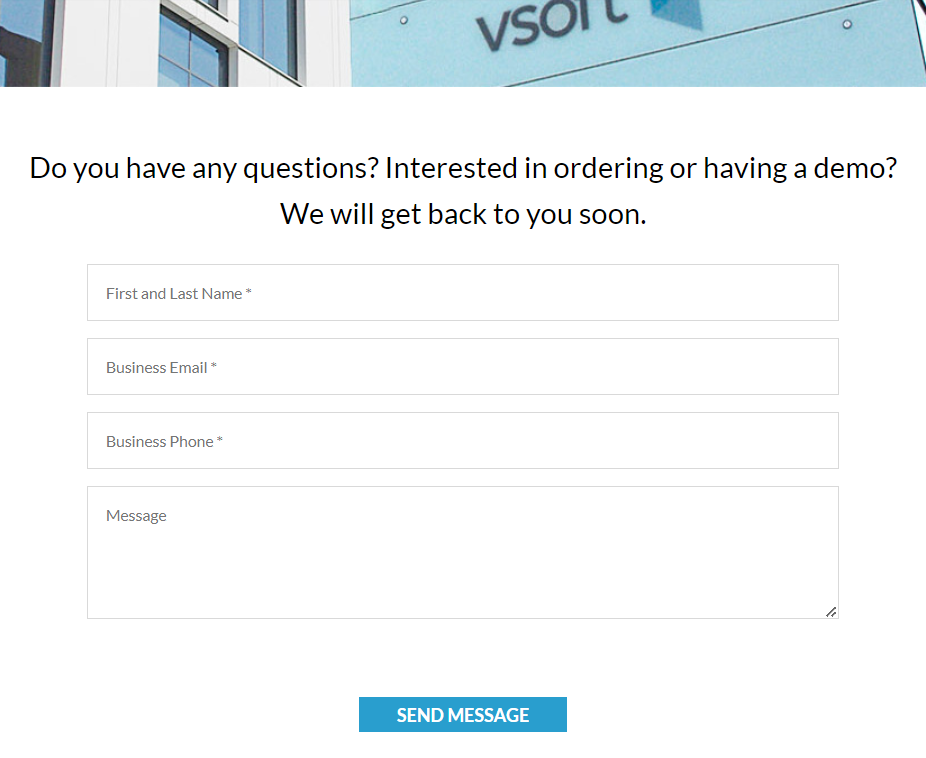
We will send you a welcome email to the email address you provided in the form, along with your login information and trial license key. Once you receive it, log on to https://users.vsoft-architekt.com/, select Download archITekt and follow the instructions.
Installation
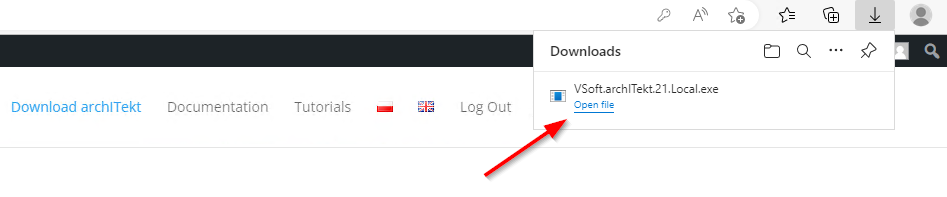
Run the downloaded installer by clicking on the downloaded file directly in your browser
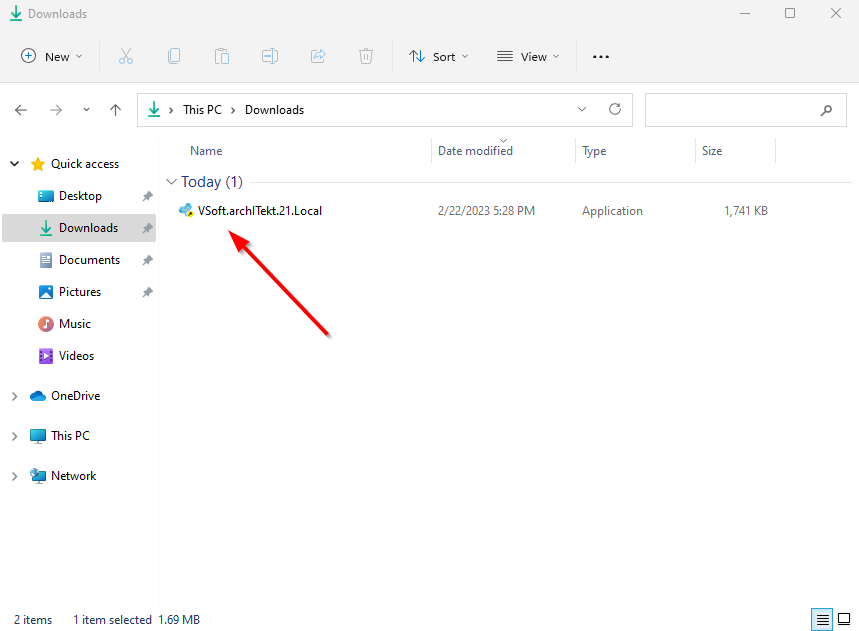
or on the disk (usually in the Downloads directory).
Click Install in the installer window.
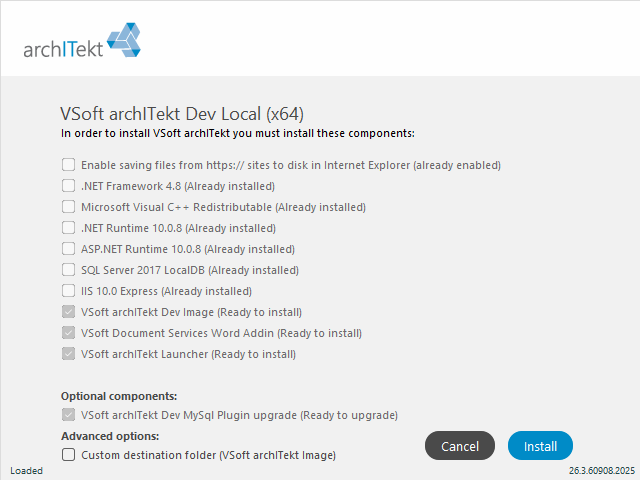
In the installer window you will see a list of installed components.
You can change the default installation location of the application by checking the Custom destination folder checkbox.
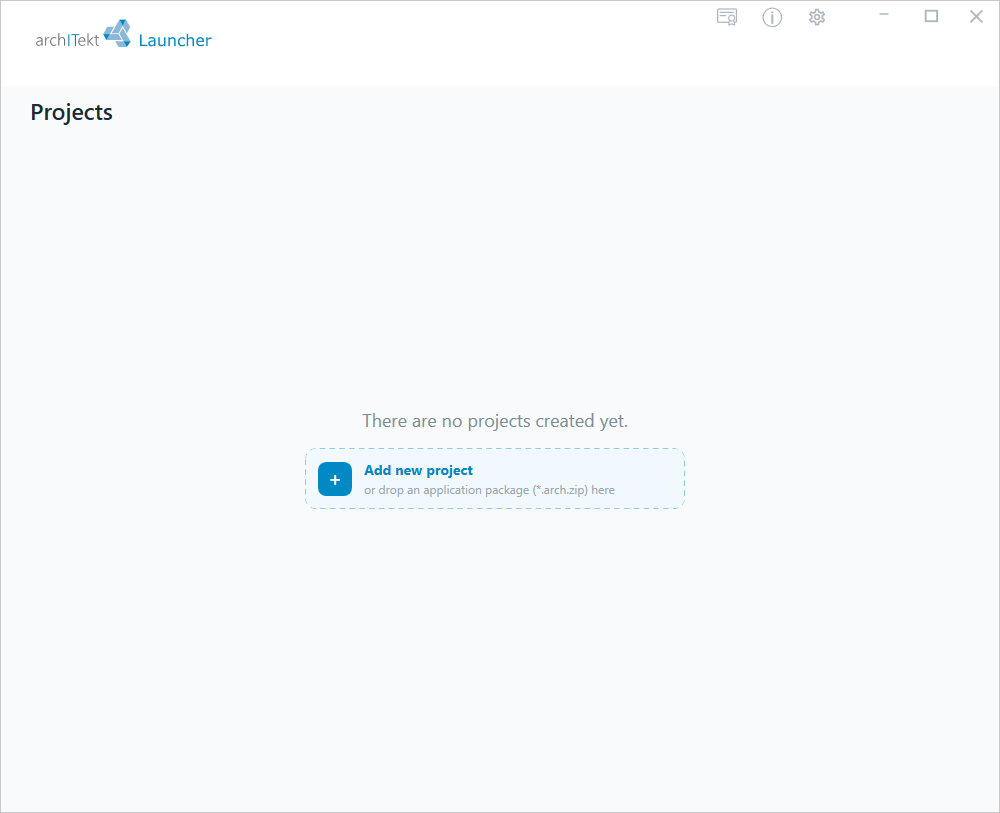
Once the installation is complete, the VSoft archITekt Launcher panel - for managing platform environments - will be launched automatically. To launch it yourself, use the shortcut created on the desktop.
License
To access the full functionality of the VSoft archITekt platform, license authorization is required.
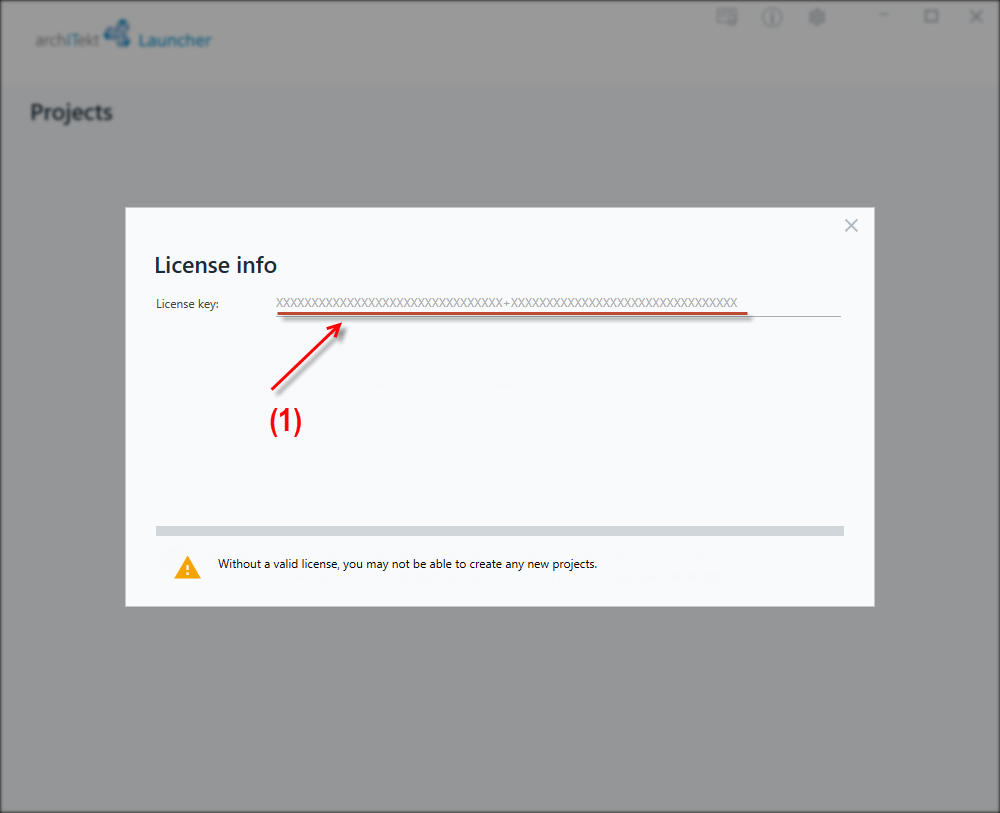
To do so, enter the trial license key or the purchased production license in VSoft archITekt Launcher.
Click the license symbol at the top of the VSoft archITekt Launcher window.

Then enter the license number you have in the space marked with number (1) in the figure below.
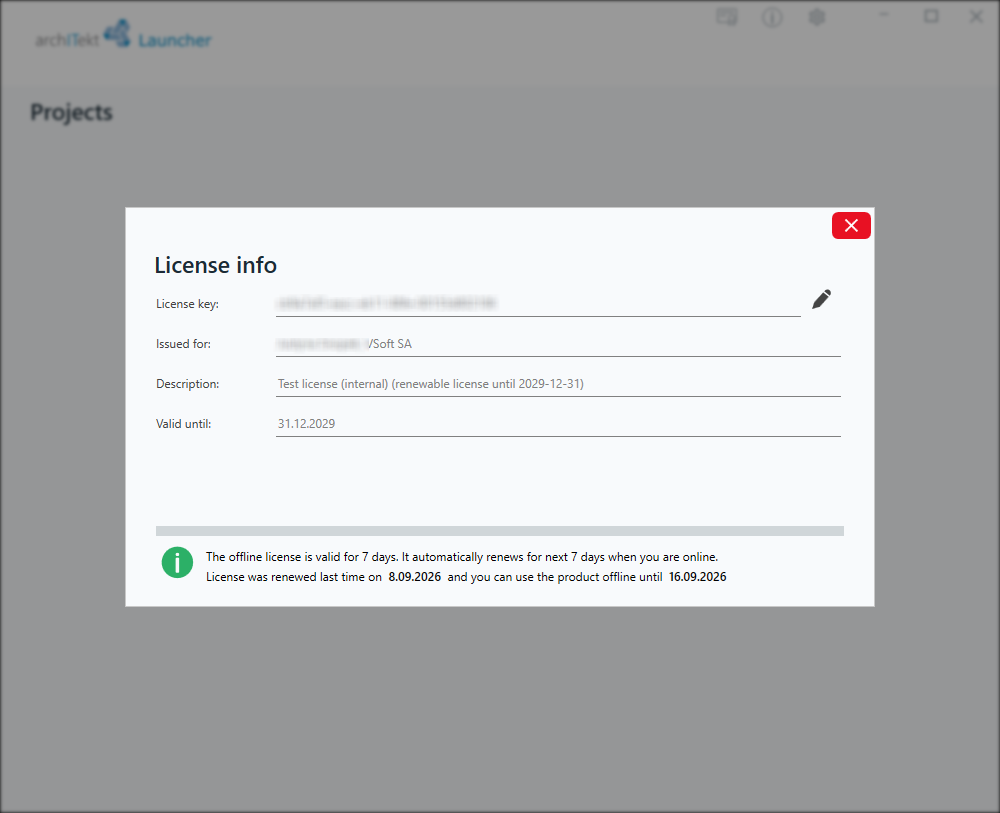
If the number is correct, you will see a window with information about your license.
Create a new project
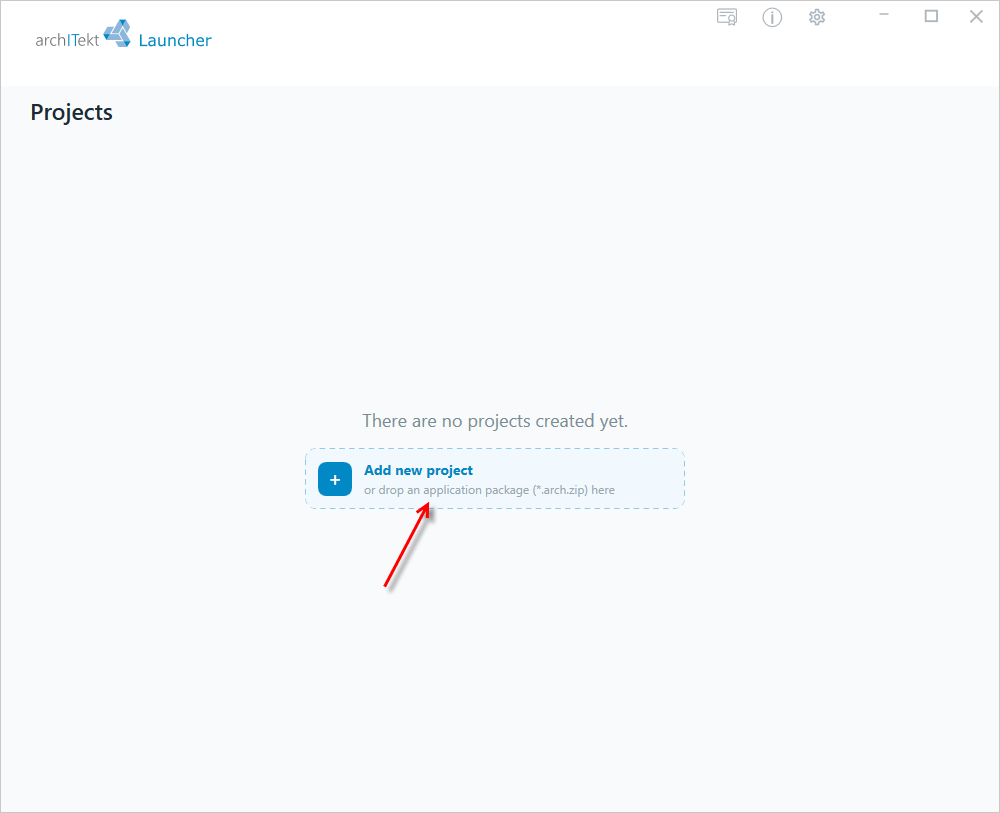
To create a new project, click the Add new project button.
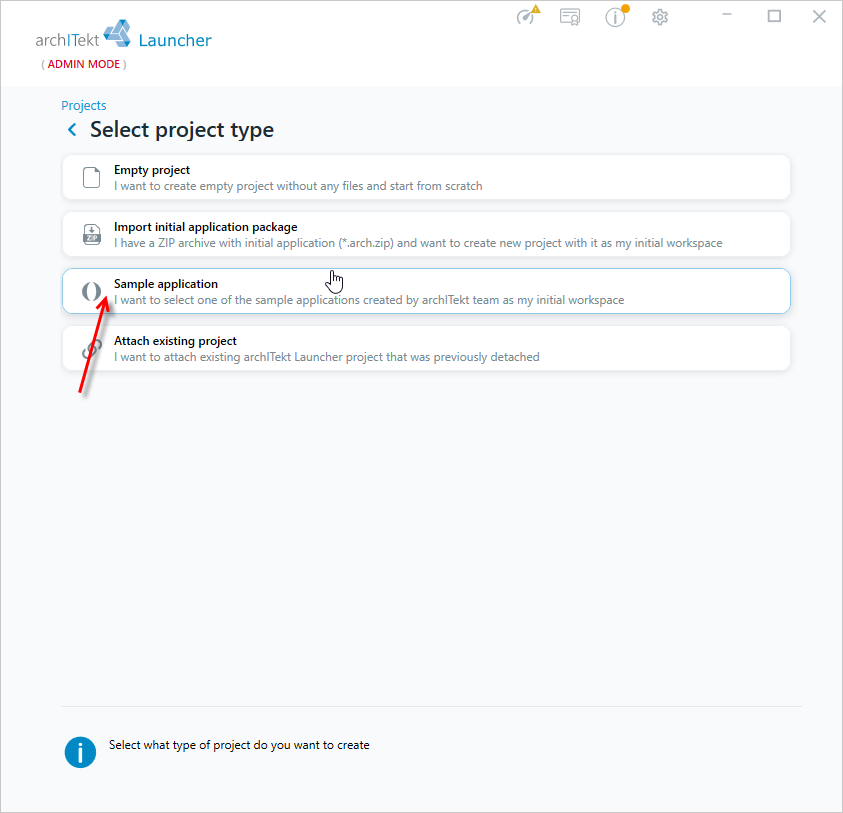
You will see the Select project type window, where you indicate the type of project to create. You can create an empty project by selecting Empty project, or use one of the ready-made sample applications by selecting Sample application. You don't need to download any package for this. For more information about the available sample applications, see: Sample applications.
If this is your first contact with archITekt Studio, we recommend using one of the ready-made sample applications (the Sample application option). The installed project will then be ready to be displayed in the browser and ready to go right away.
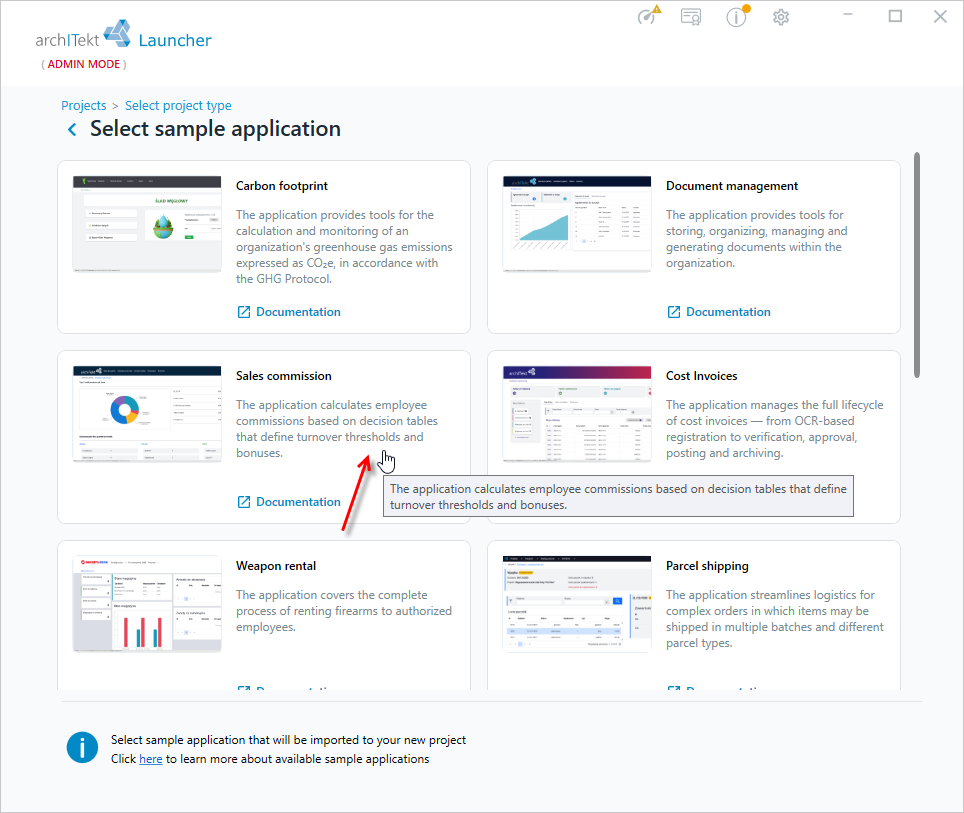
Select one of the available sample applications.
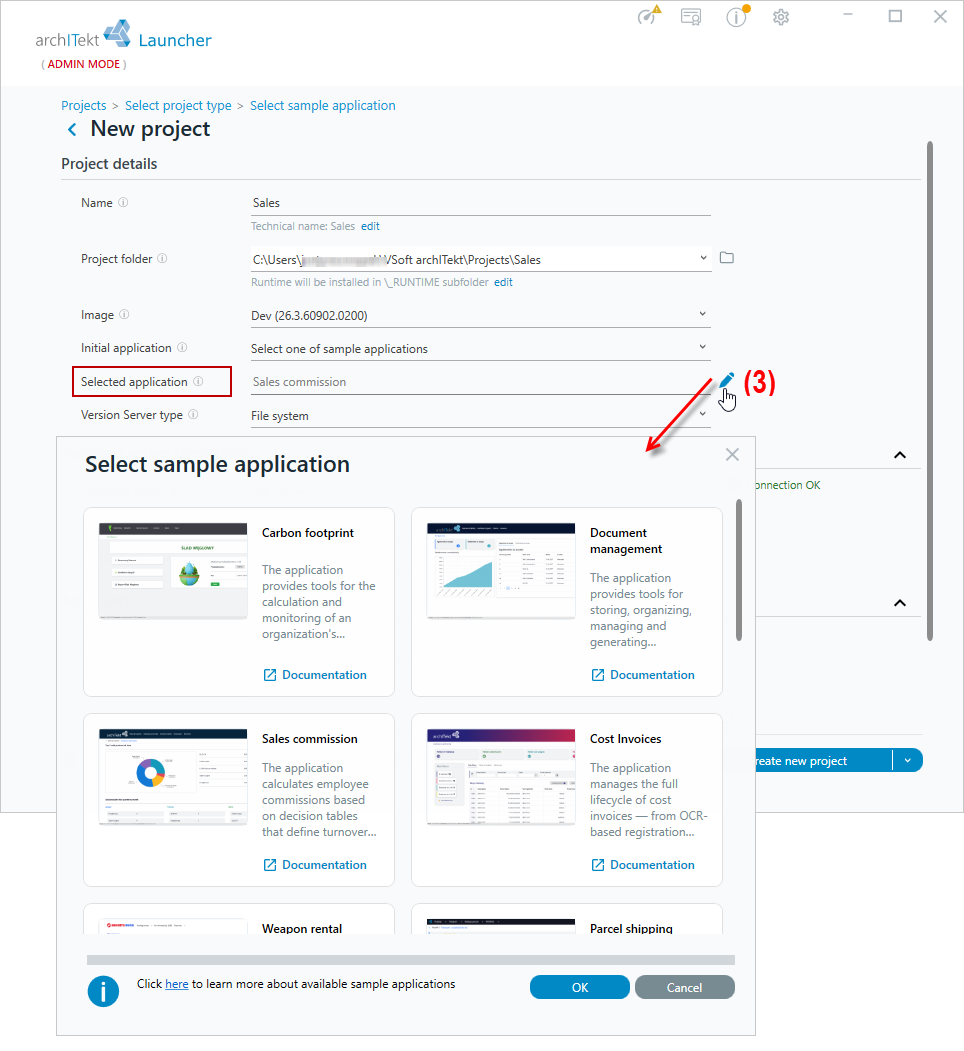
You will see the New project window with the new project configuration form. The selected application is shown in the Selected application field - you can change it if needed by clicking that field (3).
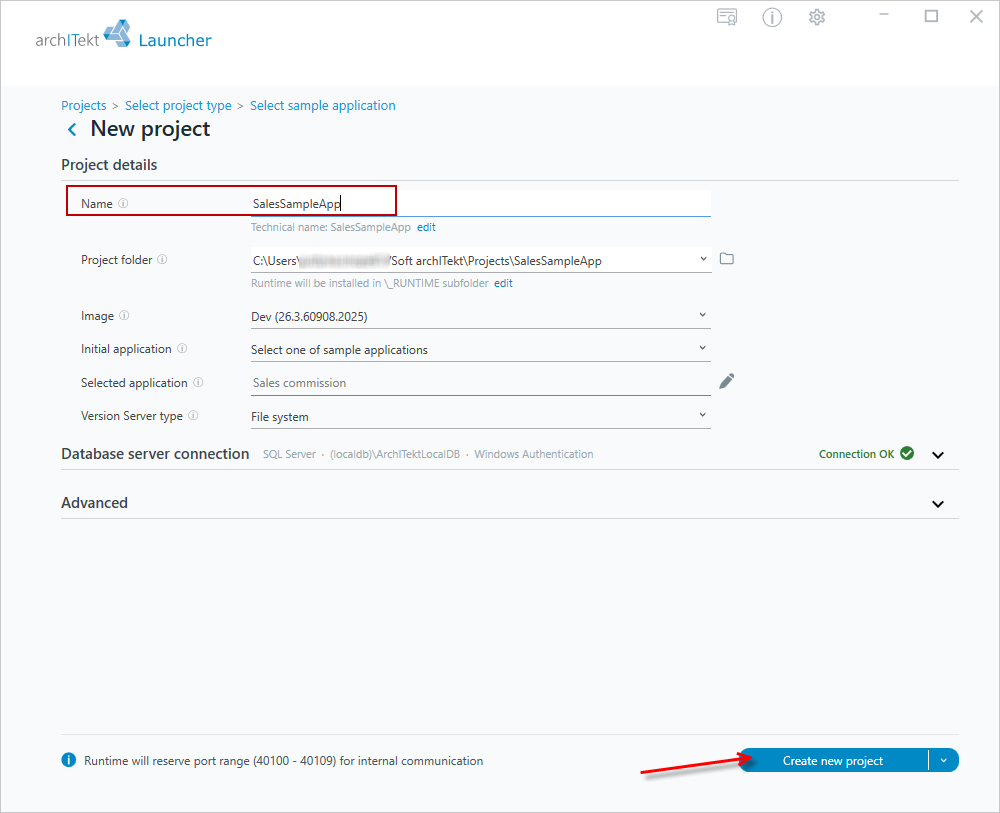
Enter a name for the new project in the Name field, and then click the Create new project button.
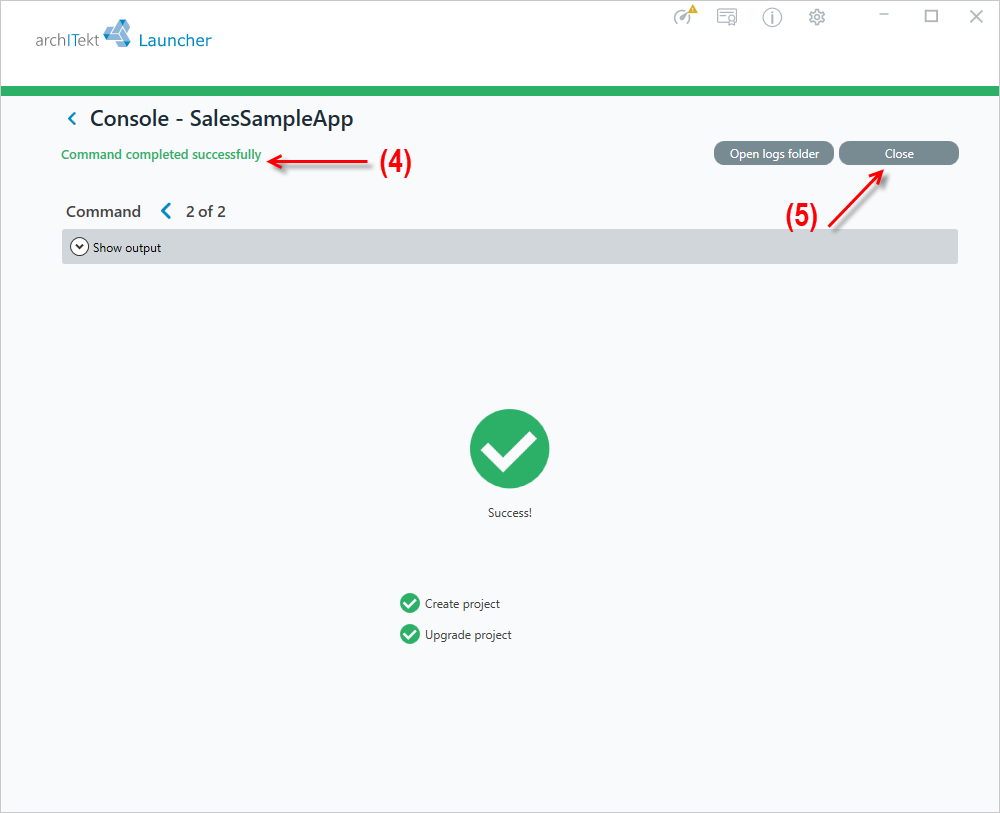
You will then see a window confirming the installation of the new project (4). Click the Close button (5).
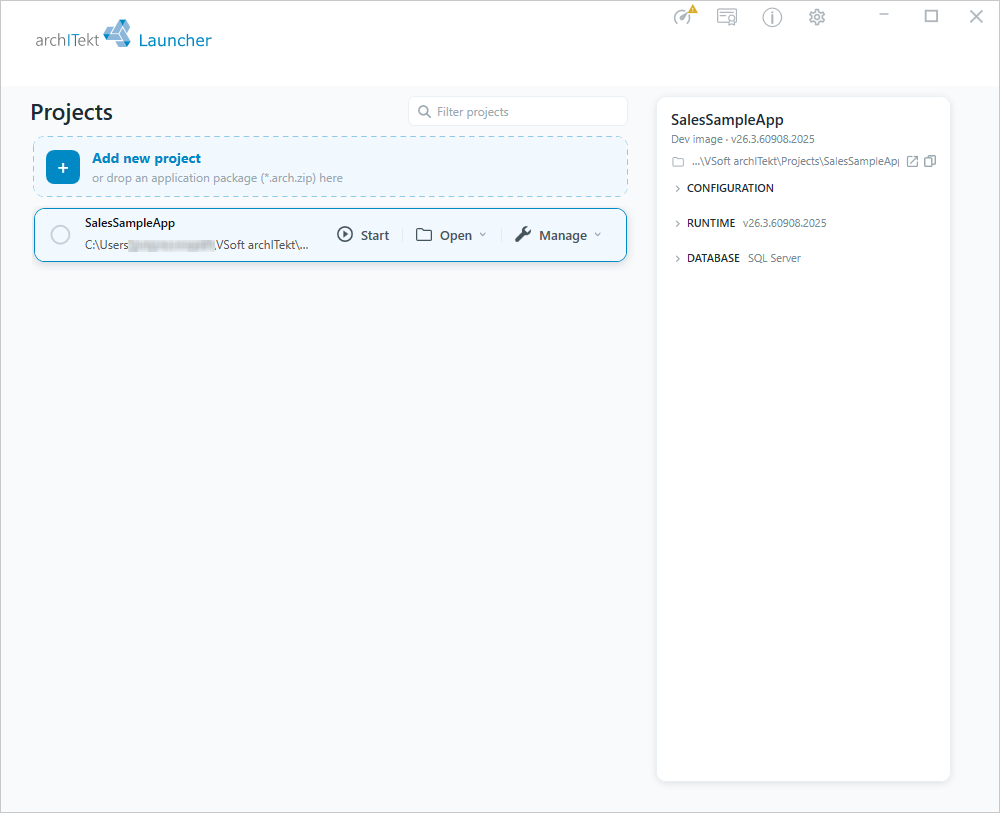
You will see the newly created and ready to work project in the project list.
Launching the environment
In order for archITekt Studio to work properly, it is required to launch the services in VSoft archITekt Launcher.
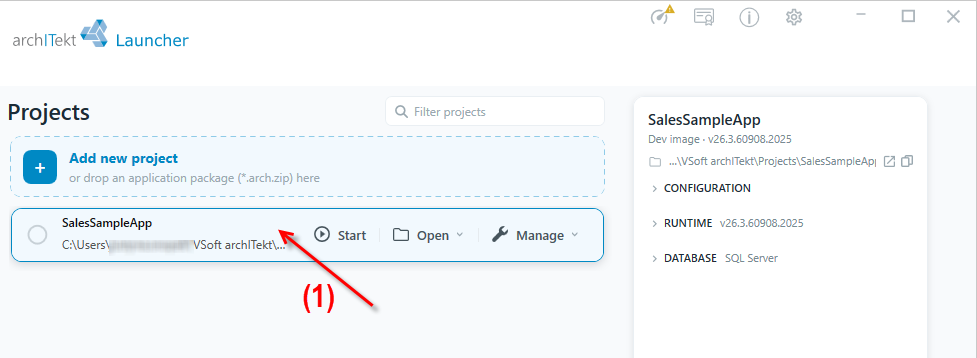
Go into the project details by double-clicking the project record (1).
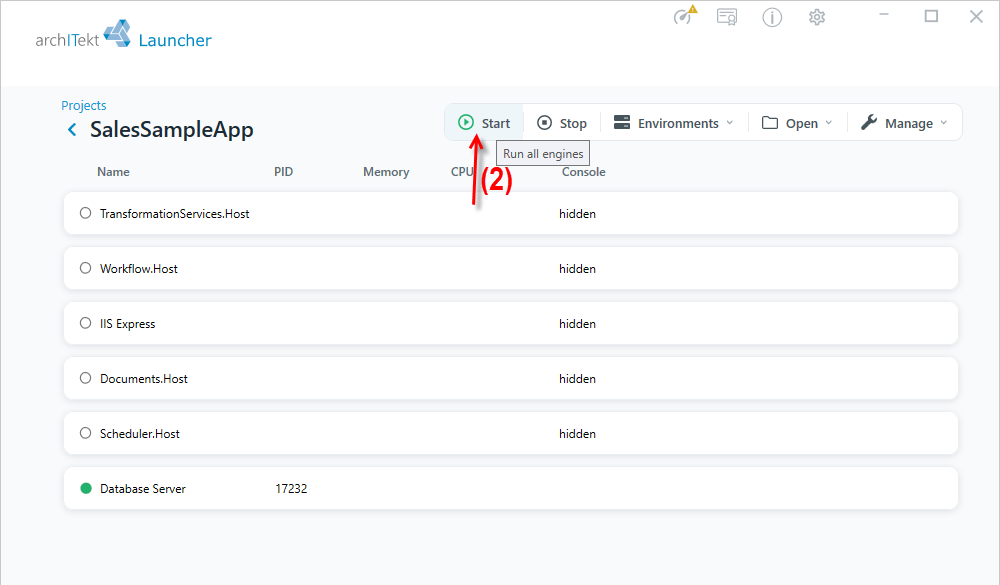
In the details you will see a list of services. To run them, click the Start (Run all engines) button (2) in the section with actions above the list of services.
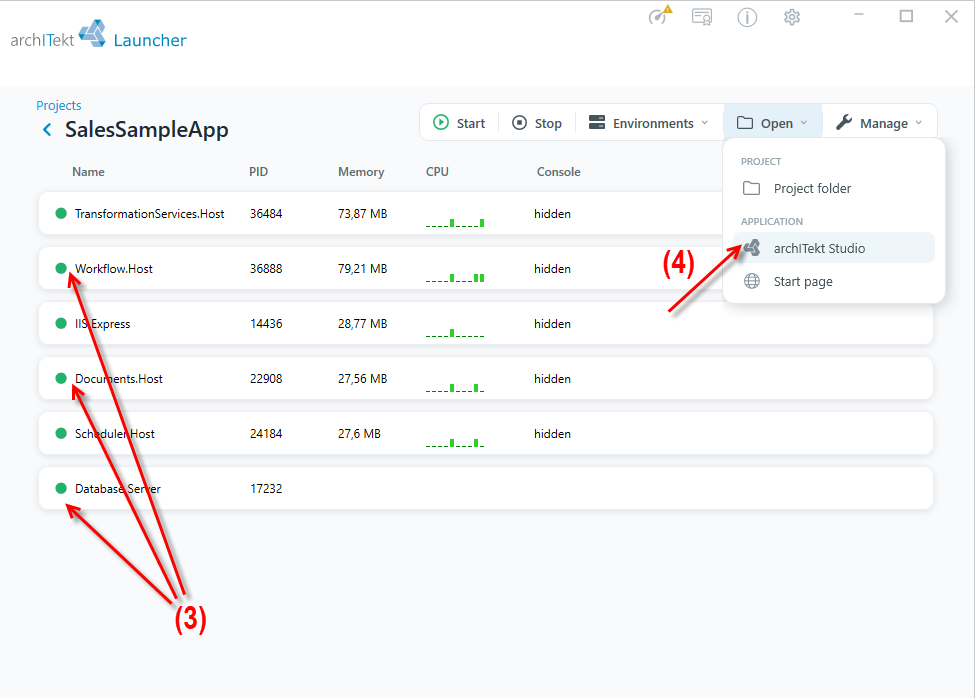
The green color of the checkmark (3) next to each service indicates that it is running correctly.
Now you can launch archITekt Studio - expand the Open button and select archITekt Studio (4).
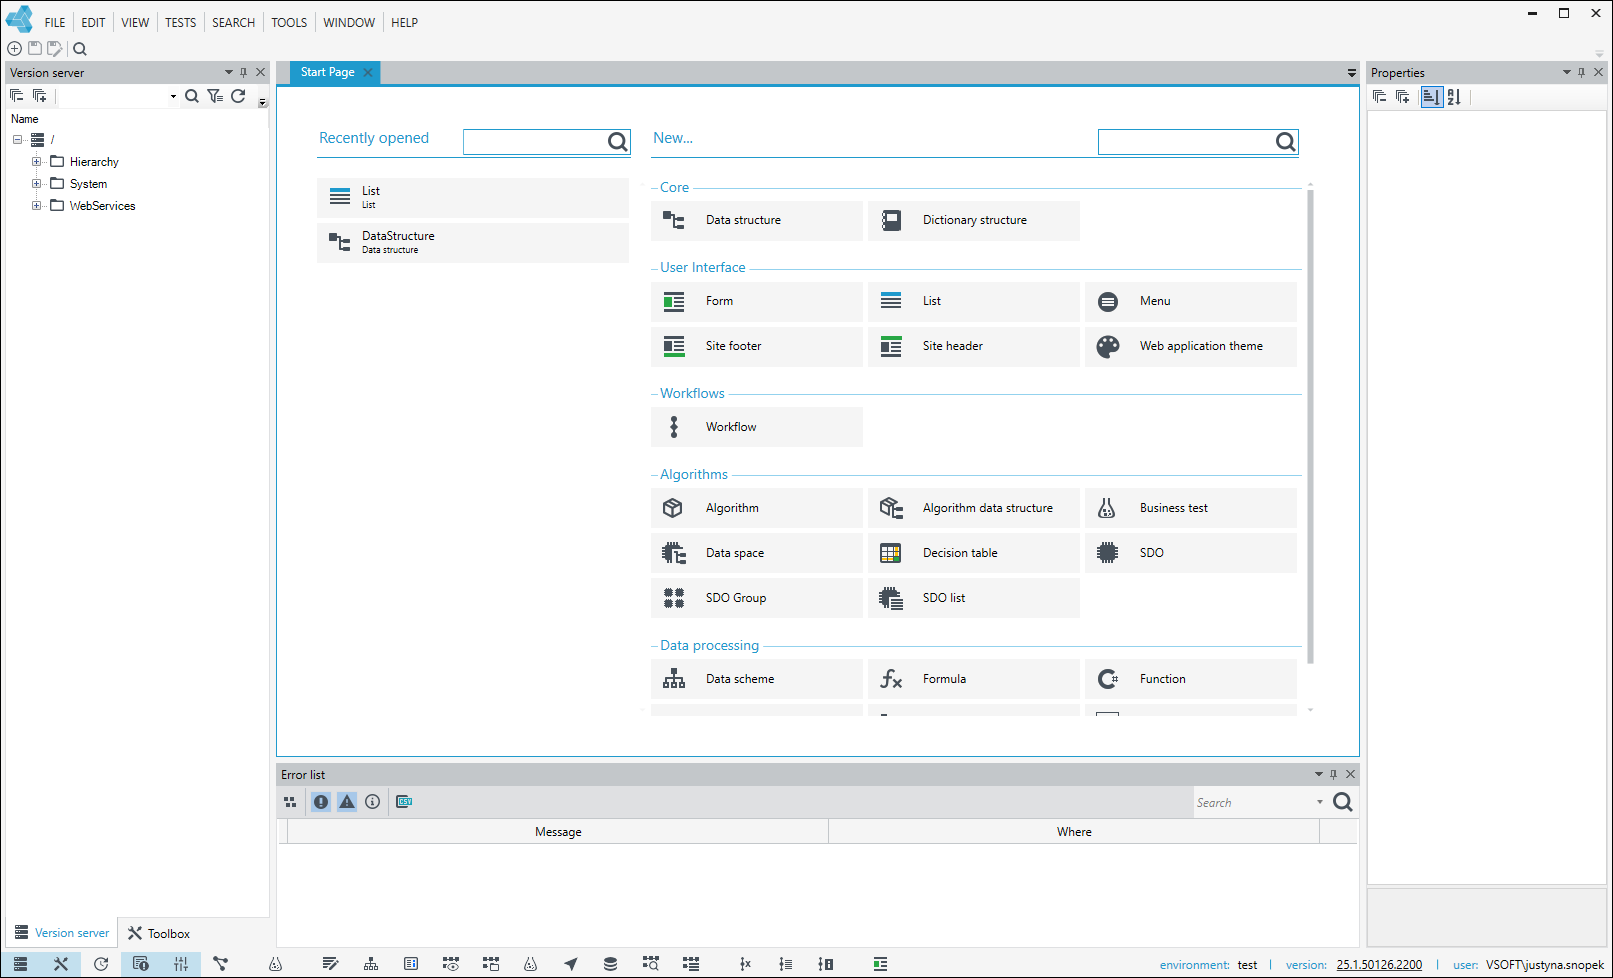
archITekt Studio is ready to work.